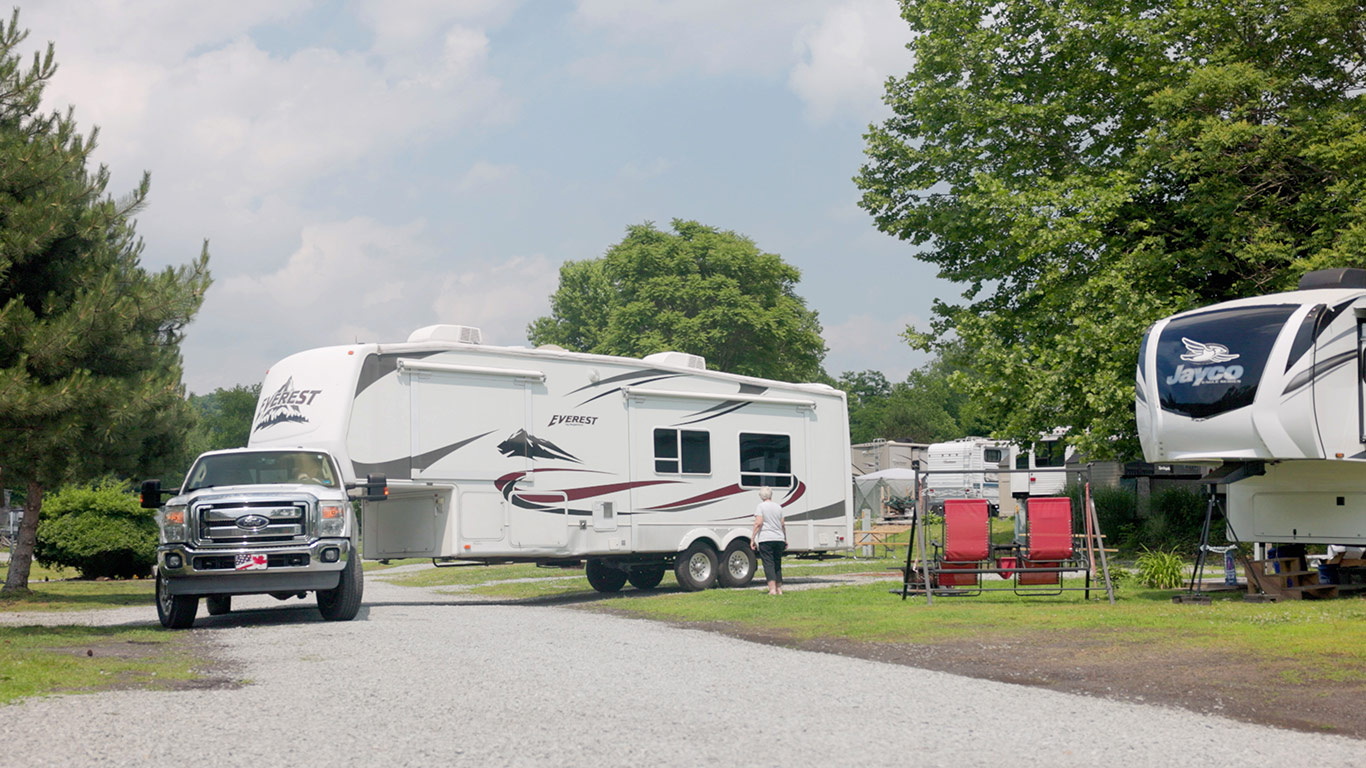
Whether you’re planning a family vacation, taking the kids to see their favorite movie, or just wanting to get away from it all and enjoy some fun in the sun, you need to make sure your RV is ready for summer travel.
Getting Your RV Ready for Leaks
If you’ve left your RV parked for a long period of time, it’s likely there are leaks that have developed over the course of the winter. These small leaks can cause significant problems when you’re traveling, so it’s important to inspect your RV for signs of leaking, especially when the weather is wet.
Check for leaks around all major openings in the RV, including around your roof, windows, door frames, moldings, vents, and skylights. Look for cracks, thinning, or worn spots in the sealants and caulk.
Cleaning the Water System
To thoroughly clean the RV’s water system, you’ll need to drain all the water out of the tanks and pipes before sanitizing them with a solution of white vinegar. This method is also a good way to prevent stale water smells from developing as you’re on the road.
Another option is to use baking soda instead of vinegar, which does a better job of sanitizing and deodorizing the RV’s water system. However, the results may be less dramatic than with vinegar.
Performing Regular Leak Inspections
As part of your RV’s regular maintenance, you should perform leak inspections on a weekly basis. This will help you catch any leaks before they become too serious. You’ll also want to check for signs of discoloration or dripping around the outside of your RV, especially when it rains.
If you do find any leaks, be sure to fix them right away, and call a certified technician to assess the issue and make recommendations for repair. This will prevent expensive damage to your RV and will ensure you can continue enjoying your trip without compromising your safety or the safety of other travelers.
Examining the RV Gas System and Appliances
It’s important to examine all of your RV’s gas systems, including your propane and LP gas lines, fuel tank, and fuel filter. You’ll also want to make sure that all of your propane appliances are functioning properly. If you’re not familiar with your specific RV’s LP or propane system, consult your owner’s manual for the proper settings.
Lastly, you’ll need to check the fuses and circuit breakers that govern your RV’s electrical system. You should be able to figure out which breakers are responsible for which appliances and electronics. If any of these breakers are tripped, they are likely causing an overloaded circuit and preventing your appliances from functioning properly.
Check the Batteries
Keep your batteries in working order at the start of each season by inspecting and testing your battery bank. (Be sure to wear safety glasses and protective gloves before any battery inspection.) Begin by turning the shore power, main power switch, and all other switches off. Next, inspect the battery and connections. Look for cracks, leaking acid, or exposed wires. You can clean corrosion using baking soda and hot water. If you notice any issues, or faulty wiring, take the RV to a specialist before hooking up power. Also, be sure to test your battery to see if it needs replacement.
Once your battery is in working order, hook up your RV to the shore power and fully charge the battery bank. Next, go through and switch on all devices to check that power is running to the rig. If you’re hauling a trailer, hook up the trailer to your vehicle and test that all exterior driving lights and any assisted breaking are in working order.
You should also have a battery tester on hand so you can check your batteries at least once each trip to see if they are still charged. Using a battery tester can save you from having to replace a dead battery at the campground or RV park, which can be a frustrating experience.

Recent Comments