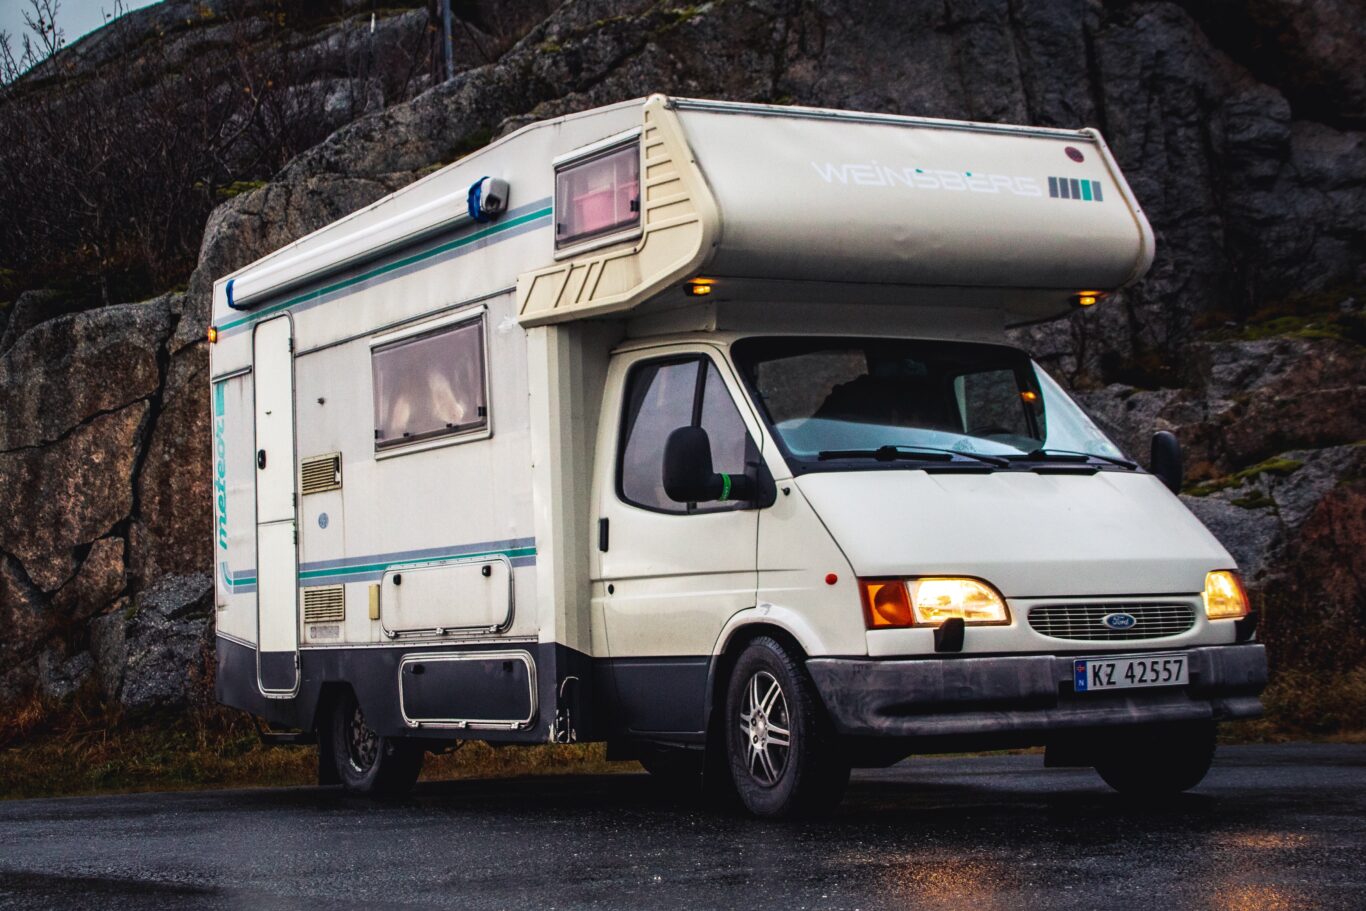
As the summer camping season winds down, it’s time to start thinking about winterizing your RV. Winterizing your RV is the process of preparing it for storage during the winter months. This will help to protect your RV from damage caused by the cold weather, snow, and ice.
In this article, we’ll provide a comprehensive guide on how to winterize your RV, ensuring that it stays in good condition throughout the season.
Step 1: Clean Your RV
Before you begin the winterization process, it’s important to give your RV a thorough cleaning. This includes washing the exterior, cleaning the interior, and removing any debris that may have accumulated during the camping season. A clean RV will make the winterization process easier and more effective.
Step 2: Drain the Water System
One of the most important steps in winterizing your RV is to drain the water system. This includes draining the fresh water tank, water heater, and all water lines. To drain the system, open all faucets and low-point drains and allow the water to flow out. Once the water has stopped flowing, turn off the faucets and close the drains.
Step 3: Bypass the Water Heater
Before you add antifreeze to the water system, you’ll need to bypass the water heater. This will prevent the antifreeze from entering the water heater, which can be harmful. To bypass the water heater, locate the bypass valve(s) and turn them to the bypass position.
Step 4: Add Antifreeze to the Water System
Once the water heater is bypassed, you can add antifreeze to the water system. There are two main methods for adding antifreeze: using a winterizing kit or using a pump and jug. The winterizing kit method is easier and more convenient, but the pump and jug method is more cost-effective. Choose the method that works best for you and follow the instructions carefully.
Step 5: Flush the Antifreeze Through the System
After adding antifreeze to the water system, turn on all faucets and let the antifreeze flow through the lines. This will help to ensure that all parts of the water system are protected. Once antifreeze starts to flow from the faucets, turn them off.
Step 6: Protect the Plumbing
In addition to adding antifreeze to the water system, it’s important to protect the plumbing from freezing. This includes adding antifreeze to the toilet, sink drains, and shower drain. Pour a cup of antifreeze into each drain to prevent freezing.
Step 7: Disconnect the Battery
To prevent the battery from draining during the winter months, it’s important to disconnect it. Disconnect the negative battery cable first, followed by the positive cable. Store the battery in a cool, dry place.
Step 8: Winterizing the Engine
You also need to winterize your RV’s engine. This includes changing the oil and filter, and adding antifreeze to the coolant. Be sure to follow the manufacturer’s instructions for winterizing your RV’s engine.
Step 9: Cover the RV
Once your RV is winterized, it’s a good idea to cover it to protect it from the elements. A cover will help to keep snow, ice, and debris off of the RV, which can cause damage over time. Choose a cover that is designed for RVs and is made of a durable, waterproof material.
By following these steps, you can effectively winterize your RV and protect it from the harsh winter elements. Remember to take your time and follow all instructions carefully to ensure that your RV is properly prepared for the winter months. With proper winterization, your RV will be ready to hit the road again when spring arrives!
Here are some additional tips for winterizing your RV:
- Use a space heater or heat tape to keep the interior of your RV warm enough to prevent the pipes from freezing.
- If you are storing your RV in a cold climate, you may want to consider adding a heated water hose to your RV. This will help to keep the water in your RV from freezing.
- Be sure to disconnect the RV’s electrical system from the power source.
- Remove all food and perishable items from the RV.
- Close and lock all windows and doors.
Recent Comments